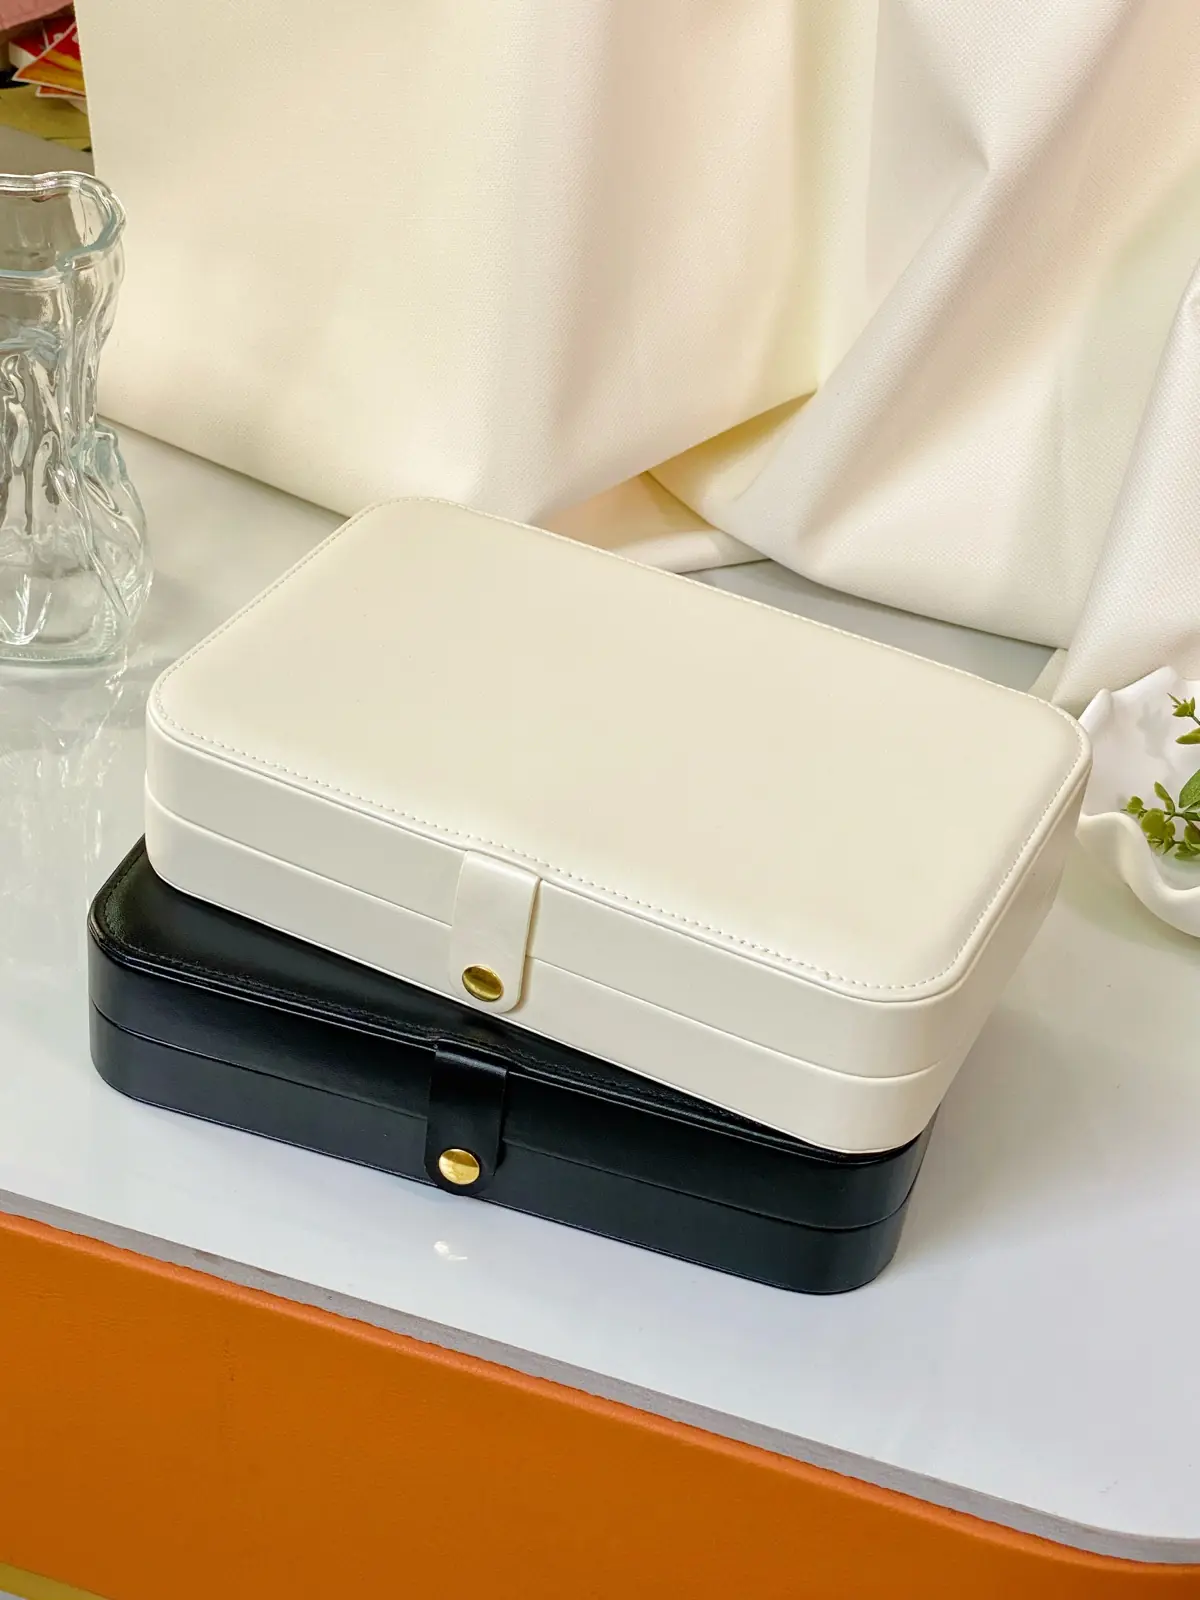
Stackable jewelry boxes are the second product line on our bench, next to linen trays. Ours are black textured PU over a board frame, with a brushed brass bar handle on every layer. Buyers like them because the customer can start with two layers and add more later, and because a stack photographs well on a dresser.
If you are comparing a stackable jewelry box manufacturer for your own brand, it helps to know how the layers are actually built. Most of the things that go wrong with stackables, like layers that wobble, handles that loosen, or linings that lift, start at a specific step. This is how we make them and what we would check if we were the buyer.
What a "layer" is
Each layer is its own small tray. It has a rigid board frame, an outer skin of PU leather, a lining inside, and a handle at one end so you can lift it off the stack.
The layers are made to the same outer footprint so they sit on top of each other without sliding. A set might be a ring layer, an earring layer and an open layer, or any mix your range needs. The common inside layouts we make are:
- Ring layers with soft ring rolls or slots
- Earring layers with slotted pads or small square compartments
- Necklace layers with a long channel or hooks so chains do not tangle
- Watch layers with pillows
- Open layers with no dividers, for bulky pieces or mixed storage
Because every layer shares the same outer size, you can sell them as a fixed set, as single add-on layers, or both. That is the main reason brands choose stackables over a single closed box.
Step 1: Cutting and building the board frame
Everything starts with grey board. We cut the base and walls to size and glue them into a frame. The accuracy here decides whether the finished stack sits flat. If one frame is a little out of square, the PU will cover it up visually, but the layer will rock when it is stacked.
This is also where the inside layout is decided. Divider walls and ring-roll positions are planned at this stage, so changing a layout after the frames are cut is not a small change. If you want a custom insert, settle it before the sample is made, not after.
Step 2: Wrapping the PU
The frame is then wrapped in PU leather. On our black stackables it is a textured grain, which hides small handling marks better than a smooth finish.
Wrapping is done by hand. The corners are the hard part: the PU has to be folded, trimmed and pressed so the corner is neat and does not bulk up. Bulky corners are one reason some stacks never sit quite flat. Glue has to be even, too. Too little and the edges lift after a few months in a warm room; too much and it can show through or stain.
PU color and grain are customizable. Black is our main color, but brands also ask for other shades. We cover the trade-offs between PU, linen and velvet in linen vs PU leather vs velvet for jewelry boxes.
Step 3: Lining the inside
After wrapping, the lining goes in. We use velvet or microfiber suede. Velvet feels softer and more traditional; suede gives a flatter, more modern look. Either way, the job is the same: glued flat, no bubbles, clean edges where it meets the dividers, and nothing that will catch on a fine chain or a prong setting.
Ring rolls and pads are fitted at this stage. A ring roll should sit firmly so it does not pop out when a ring is pulled. If your jewelry is very delicate, tell us. We can test different pad densities and lining fabrics on the sample.
Step 4: Fitting the handle last
The brass handle goes on at the end, after the PU is wrapped and the lining is in. We screw the bar handle into the end wall rather than only gluing it, because a stacked layer gets lifted by that handle every day. A handle that is only glued on tends to work loose.
Fitting it last also protects it. A handle put on early gets scratched while the layer goes through wrapping and lining.
Handle options we offer are brass, gold-tone and black. If you have your own handle design, we can look at it. Keep in mind that a new handle shape needs its own sample, and the end wall has to be thick enough to hold the screws.
Step 5: Logo
Stackables usually carry the logo on the front of the top layer or on the lid, if there is one. The two methods that suit PU best are:
- Debossing directly into the PU, which is quiet and premium
- A metal plate fixed to the front, which stands out more and matches a brass handle well
Foil stamping on smooth PU also works if you want color in the logo. For more on choosing a method, the linen jewelry trays guide covers how logo choices change with the material.
Step 6: Checking against the approved sample
Before packing, finished layers are checked against your approved sample: size, PU finish, lining, handle position and logo. Then the stack is put together and checked as a set, because a single layer can pass on its own and still sit badly on top of another one.
What to check when your sample arrives
If you are getting a stackable sample, here is what we would look at:
- Stack all the layers on a flat table. They should not rock or slide. Push the top layer gently sideways.
- Lift each layer by its handle and give it a small shake. The handle should not move.
- Press the corners. The PU should be tight, with no lifting and no glue marks.
- Open every layer and run a finger along the lining and divider edges.
- Look at the handle finish under your product lights. Brass shows fingerprints in close-up photos, so plan your photography for that.
- Ask in writing that bulk will be made against the approved sample.
If something is off, say it before you approve. For a wider checklist on choosing a supplier, see how to choose a custom jewelry box manufacturer.
Starting small with stackables
You do not need a full custom set for your first order. Many brands start with a stock footprint, our black PU, two or three standard layer types and their logo, then add colors or layer types once they see what sells. Small trial orders are welcome. We explain how that usually works in MOQ and small trial orders for private-label jewelry packaging.
Ask for a quote
Tell us how many layers you want and what each one holds, your preferred PU color and lining, the handle finish, your logo file and method, and a rough first-order quantity. A photo of a stack you like is also helpful.
Send us your request through the quote form. We will come back with what is stock and what is custom, options at a couple of quantities, and an honest view on whether a simpler first version makes sense.